Floating Installation
Installing a floating floor is simple. Follow these links to learn everything you need to know.
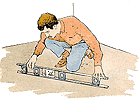
1. Subfloor must be level to 1/8" in 8 feet.
2. Use approved leveling compound, roofing felt, etc. to fill low spots.
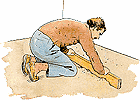
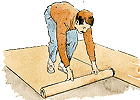
3. Roll out required plastic moisture barrier, then 1/8" foam sheets.
4. Start in the left hand corner of the room, using expansion shims to maintain required 1/2" expansion gap.
5. Last board jemmy will help install the last board in a row.
6. Very few tools or materials are needed when installing a floating floor.
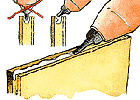
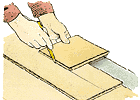
7. It is important to use ONLY the manufacture recommended Glue when installing floating floors.
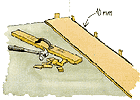
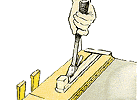
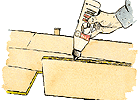
8. The recommended Glue must be applied to the top inside edge of the groove.
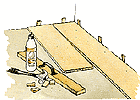
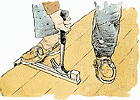
9. Use a tapping block against the tongue when joining a plank.
10. Mark and cut the last row allowing for the required 1/2" expansion gap.
11. Use last board jemmy to secure last row and remove expansion shims after the Glue has cured.
12. Finish the installation with the appropriate molding pieces.
* Always follow manufactures directions
[Home] [About Us] [Start Here] [Products] [Instllation] [Get Quote] [ Imports & Exports] [Testimonials] [Tell A Friend] [Animation]
Copyright © 2000 East Side Flooring Services Ltd.Web Site Development by Buildmeawebsite.com